Step-by-Step Directions for Seamless House Siding Setup
Beginning on a seamless home siding setup project is a considerable undertaking that requires mindful preparation and precise implementation to ensure a refined result. The process entails a collection of steps, from surface area prep work to using finishing touches, that should be carefully followed to accomplish a seamless and cosmetically pleasing outcome. Each phase adds to the overall quality and longevity of the house siding, making it critical to pay interest to detail and comply with the directions given. As we dive even more right into the ins and outs of smooth exterior siding installation, understanding the nuances of each step ends up being paramount for an effective job.
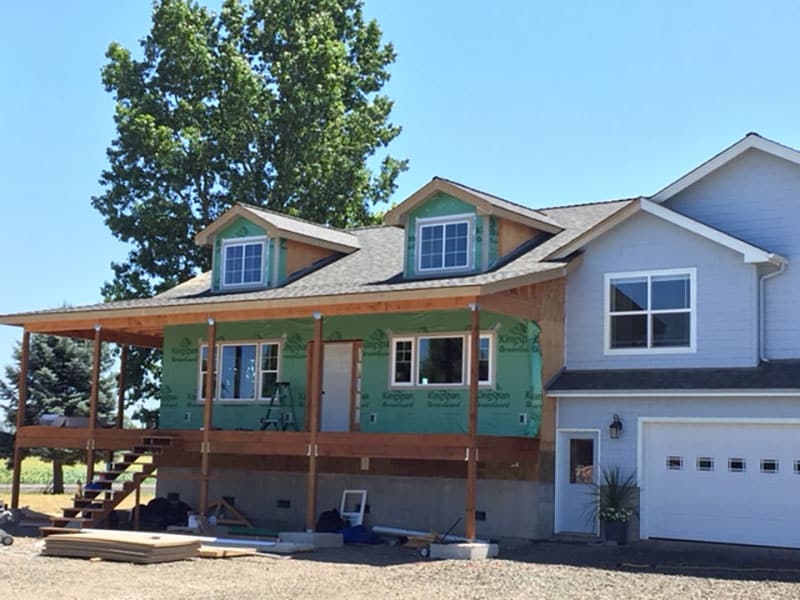
Surface Prep Work
Prior to starting the installment of home siding, extensive surface area prep work is vital to guarantee a resilient and aesthetically appealing end result. The primary step in surface area preparation is to clean the existing surface completely. This entails removing any dirt, debris, or mold that may have built up over time. Stress cleaning is commonly a reliable approach for cleaning up the surface area and making certain that the new siding will certainly adhere properly.
As soon as the surface area is tidy and devoid of damages, it is essential to apply a guide to improve bond and develop a smooth base for the home siding. The kind of primer made use of will rely on the material of the existing surface area and the kind of siding being set up. Appropriate priming will certainly help the exterior siding last longer and maintain its appearance over time.
Siding Panel Measurement
To guarantee precise and specific home siding installment, thorough dimension of house siding panels is crucial. Before reducing or mounting home siding panels, it is critical to determine the dimensions of the location accurately. Additionally, think about the type of exterior siding panels being used and whether they require details spacing or overlap for appropriate installation.
When measuring siding panels, it is recommended to include a percentage of extra product to make up any kind of reducing mistakes or miscalculations. This additional product can assist avoid shortages throughout setup and guarantee a seamless appearance once the exterior siding is in area. Remember, precise dimensions are the structure for an effective exterior siding installation procedure.
Cutting and Fitting Process
When making certain specific siding installment, the precise measurement of exterior siding panels changes seamlessly into the cutting and fitting procedure. Correct cutting is necessary for a professional-looking surface. To start, utilize a sharp energy blade or more info here specialized home siding cutter to reduce the panels properly. Ensure that each cut is straight and smooth to assure a seamless fit.
Fitting the siding panels calls for attention to detail. Start by positioning the cut panel against the wall surface, guaranteeing it straightens appropriately with the previously mounted panels. Make any type of essential adjustments to guarantee a snug fit. When suitable around windows, doors, or edges, take accurate webpage dimensions and cut the panels appropriately to preserve an uniform look.
It is important to leave a little space in between the exterior siding panels and any type of challenges, such as home windows or doors, to permit for growth and tightening due to temperature level modifications. This gap will certainly prevent fastening or bending gradually. Secure the panels in place according to the manufacturer's directions, making certain a safe and visually attractive house siding installment.
Protecting the Siding
Protecting the home siding involves fastening the panels firmly to the wall surface to make certain toughness and durability of the installment. Usage galvanized nails or screws designed for exterior siding setup to secure the panel in place.
Overlap succeeding siding panels according to the maker's instructions, guaranteeing an appropriate fit and alignment. Protect each panel along the leading edge, leaving a little gap to suit thermal activity (siding installers near me). Bear in mind spacing and fastener placement to prevent buckling or bending of the house siding. Trim panels as needed around home windows, doors, and edges, securing them securely to create a seamless surface.
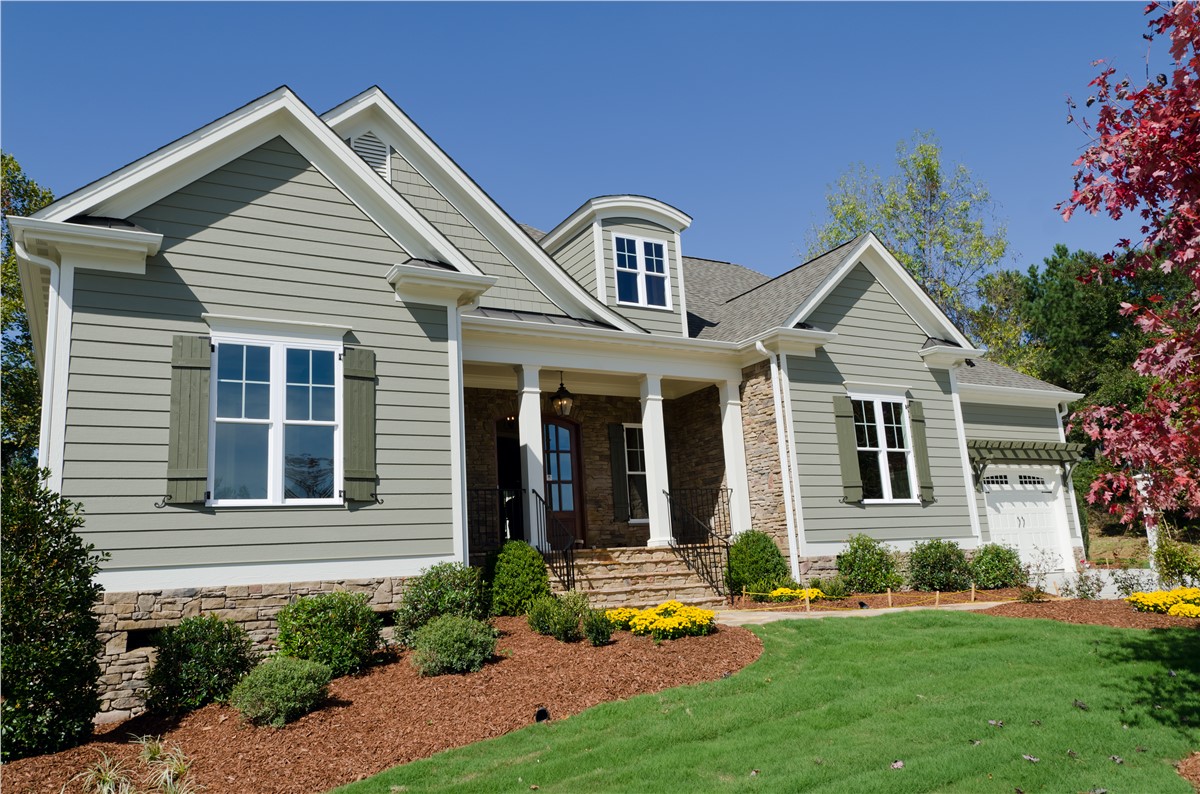
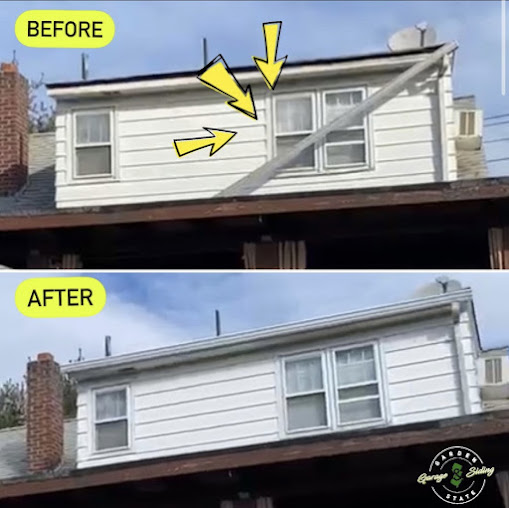
Ending Up Touches
After safeguarding the house siding panels in position with proper bolts and making certain alignment, interest shifts to the important aspect of adding the ending up touches to finish the installation process. The complements not just boost the aesthetic appeal of the home siding yet likewise add to its toughness and weather condition resistance.
Among the vital complements includes securing the joints and edges. Using high quality caulk developed for exterior use, use a grain of caulk along the sides where 2 siding visit here panels meet and at the corners to stop water infiltration and improve insulation. Additionally, mounting trim items around home windows, doors, and edges offers a sleek look while also protecting these vulnerable areas from moisture and particles.
To additionally elevate the aesthetics of your siding setup, take into consideration painting or discoloring the exterior siding according to your choices. A fresh coat of paint can change the appearance of your home and seal the exterior siding against the elements, ensuring longevity. Tidy up any construction debris and make any needed touch-ups to attain a remarkable coating.
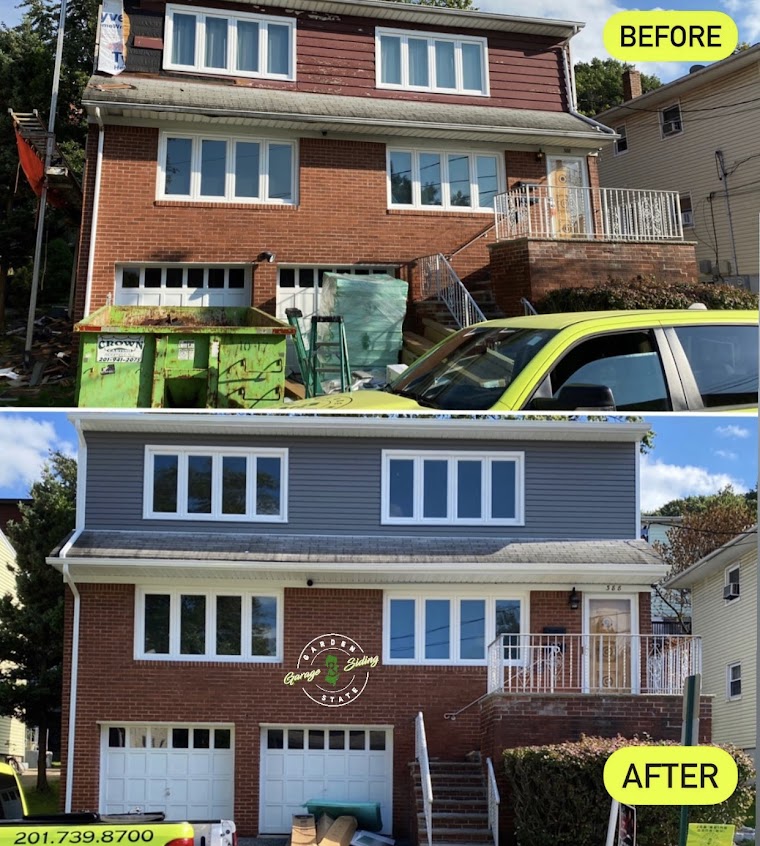
Final Thought
To conclude, adhering to the detailed instructions for smooth house siding installation is crucial for an effective and professional-looking outcome. Surface prep work, exact house siding panel dimension, exact cutting and suitable process, protected setup, and ending up touches are all crucial action in the process. By very carefully adhering to these directions, you can make certain a smooth and resilient siding installation that will certainly enhance the appearance and defense of your home.